Setup
Open connector settings
Open Claude’s connector settings in Desktop or Web:
Or open Claude Desktop or Claude on the web and go to Settings → Connectors → Customize.
Choose Add custom connector
Click the + button next to Connectors and select Add custom connector.

Enter Martini connector details
Add Martini as the custom connector:
Name
URL
Click Add when both fields are filled in.

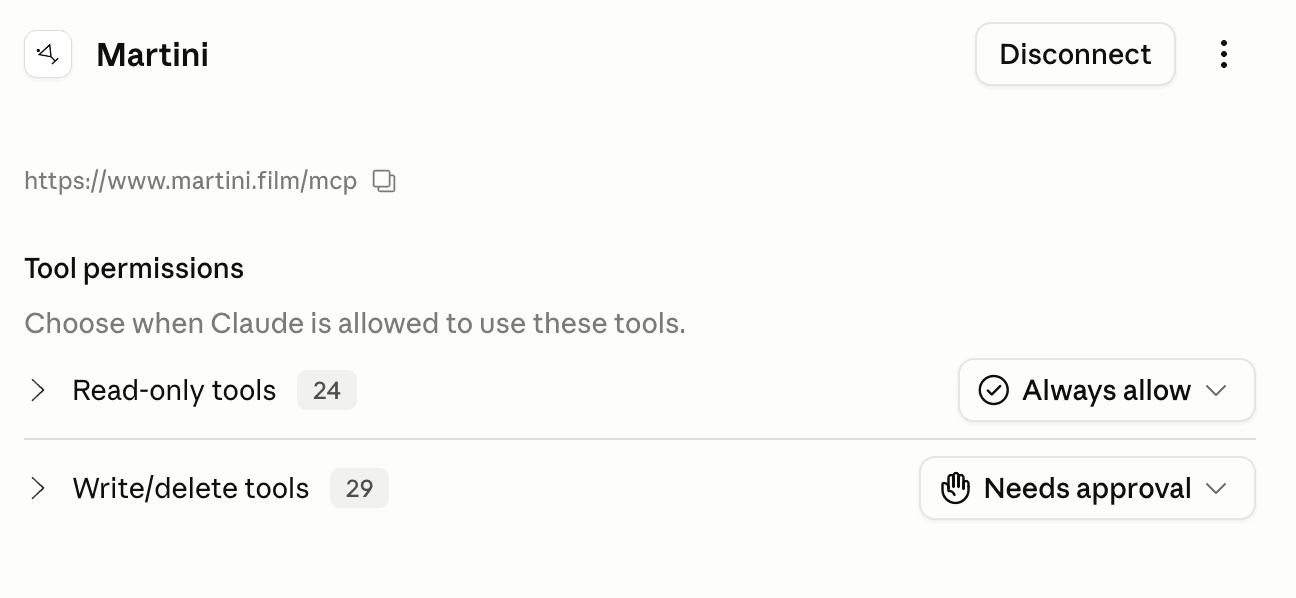
Set tool permissions
We recommend Always allow for read-only tools and Needs approval for write/delete tools.
Verify in a new chat
Create a new chat and ask “show me my latest projects”. Sign in to Martini when Claude prompts you.
Verify connection
- Ask “show me my latest projects.”
- Approve the first tool calls only after the client shows the expected Martini project or asset target.
Disconnect or revoke
In Claude Desktop, open Settings → Connectors, find Martini, and disconnect it.
Troubleshooting
If setup fails, confirm the server URL is https://www.martini.film/mcp, reload the client’s MCP servers, then authenticate again. For browser-based clients, make sure the client domain is allowed by Martini’s MCP origin policy.